DIY 4oz Minimum Yield Grow Box
Even if you are not a technical person, you can build a DIY 4oz minimum yield grow box any time. In this article, you’re going to know every piece of information regarding this topic.
We’ve shared the simple ways to do the job. Also, there are some additional tips and an FAQ section so that you will be no longer confused about this topic.
So, let’s start.
Basic Know-What for First-Time Growers
As a novice grower, you need to know about some fundamentals in the first place. In this tutorial, we are going to use a cheap and easy process of building a grow box for producing 4 ounces or even more within 3-4 months.
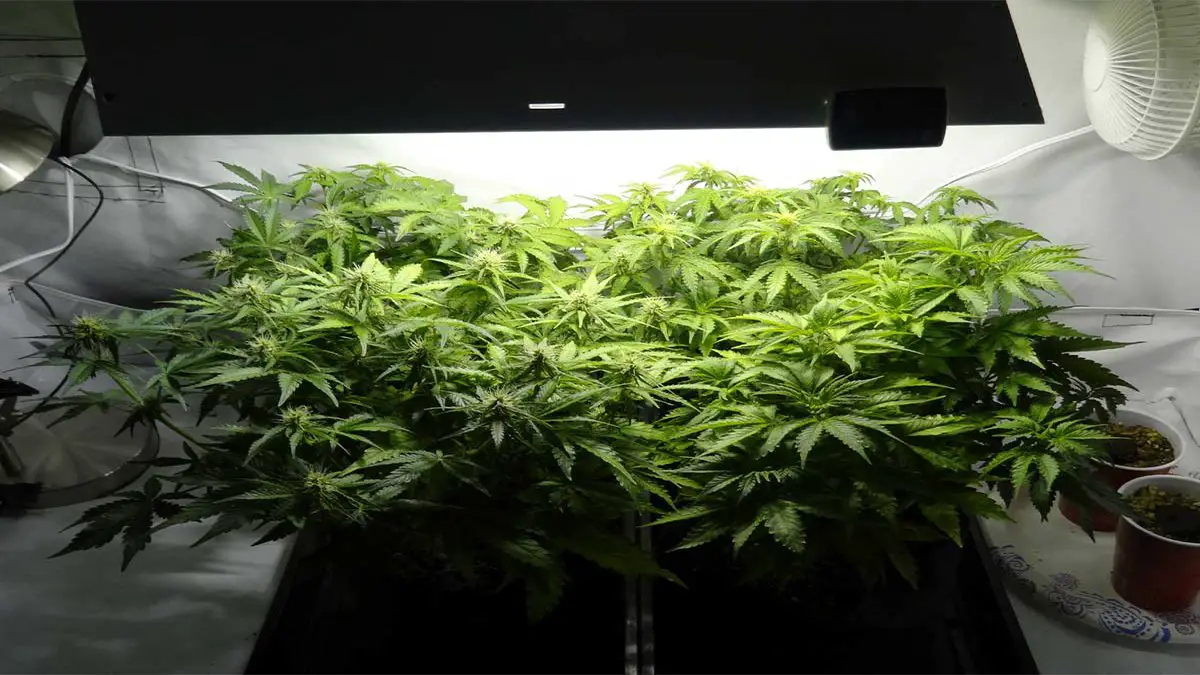
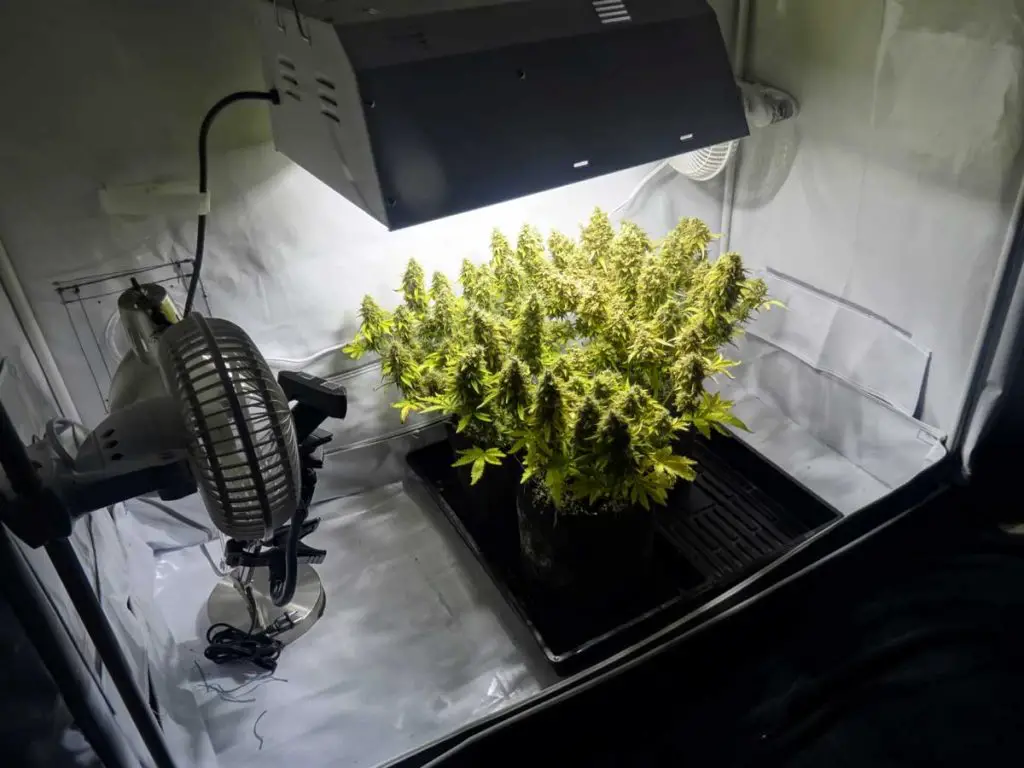
We will be using auto-flowering cannabis strains, coco coir that will work as a growing medium, and a 250W HPS.
Now, you can ask why we do need a 250W HPS grow light whereas most of the growers prefer big grow lights. Well, if you want to get around an ounce a month, it’s the best idea to choose a 250W HPS grow light.
Although a 250W HPS is not likely to get so hot as 400W, 600W, or bigger grow lights, yet, it offers better yields, density as well as the appearance of buds that are growing under the HPS.
If you still are not convinced, here are the reasons why you should choose a 250W HPS to grow marijuana.
- Reasonable Setup Cost: The overall setup we’ll show you today, will cost under $700 that is much cheaper than some LED grow lights themselves. So, using a 250W HPS means it costs lower than LED grow lights and almost the same as T5s or CFLs.
- Bigger Yields for The Similar Amount of Electricity: You may become surprised hearing that, using HPS grow lights provide you a 20-25% higher yield than T5s or CFLs and a 10-20% higher yield than using an LED.
- Long and Densely Buds: You’ll get longer, as well as denser buds with an HPS light than using other grow lights.
- Low Electricity Cost: We have used 3 fans and a 250W HPS, these all will cost (in electricity purpose) an extra $30-60 in month.
Sometimes, the bigger HPS grow lights get too hot. On the other hand, a 250W HPS is reputed keeping the grow tent cooler.
And, in case, you want to know the reasons for using coco coir to grow cannabis, let’s get to know.
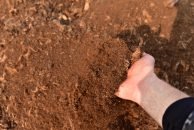
- Coco coir is an amazing growing medium for plant roots. It can hold nutrients and moisture for the roots effectively. And, since it comes with a lighter texture, it can hold more oxygen as well. Ultimately, it aids in preventing both under and over-watering. Therefore, you’ll get faster and healthier root development by using coco coir compared to any other potting mix.
- Coco coir doesn’t attract pests or insects. Cannabis that grows in coco coir hardly gets attacked by bugs or pests.
- You’ll feel like you’re growing it in soil. Just as simple as growing in soil.
- This is a hydroponic method, meaning your plants will grow directly into water and pump in air for providing oxygen. In this way, the roots of your plants get oxygen and nutrients more easily which lets your plants save precious energy. Therefore, it is a more effective way to grow your plants faster. Finally, you’ll get a bigger yield, and after a quicker harvest than you can get to grow it in soil.
DIY 4 oz Minimum Yield Grow Box
Well, we are going to enter the heart of our discussion. In this section, you are going to make a 4 oz minimum yield grow box.
Things You’re Going to Need
- 4 seeds
- Coco coir (growing medium)- pre-made coco coir potting mix, 4× 3-gallon smart pots, rapid rooters.
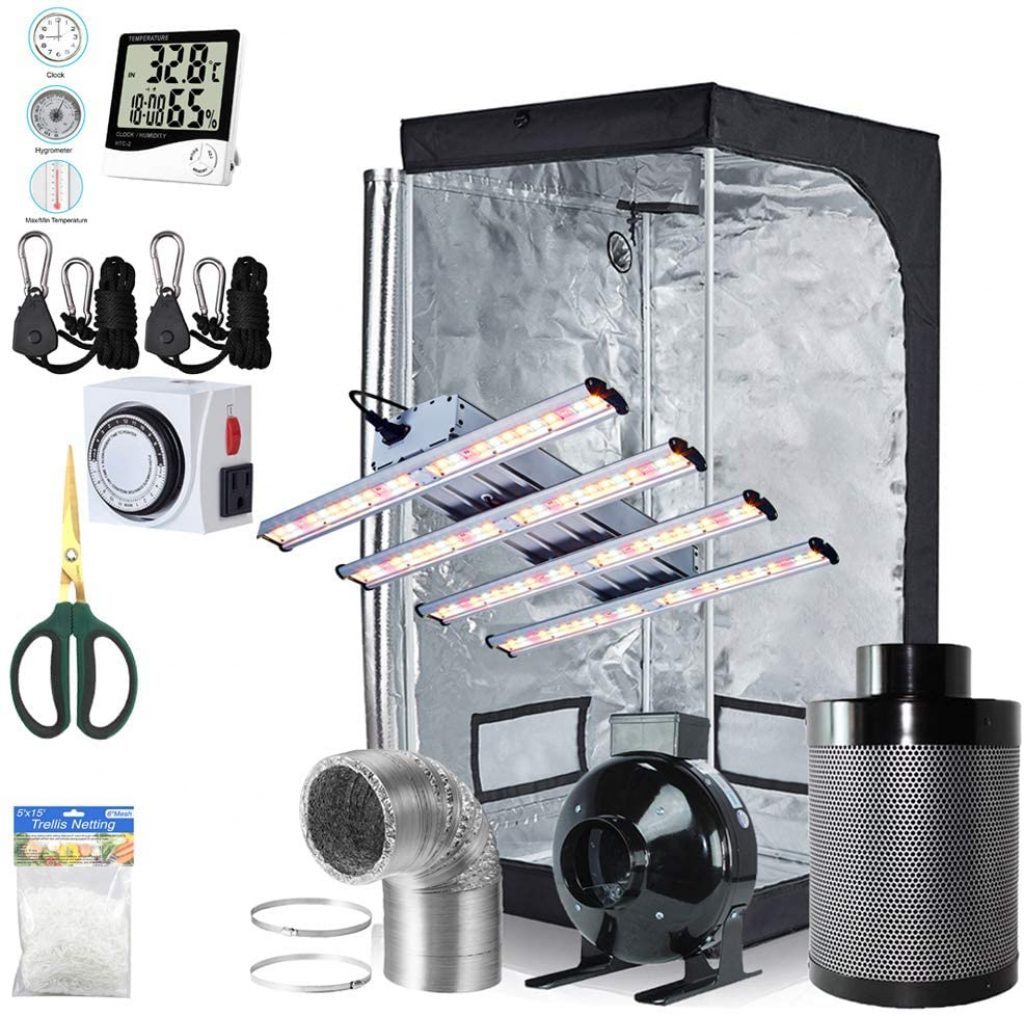
- 2’×4’×5’ grow tent
- 2 small clip-on-fans (for air circulation)
- Can Max 6” Fan-334 CFM (exhaust)
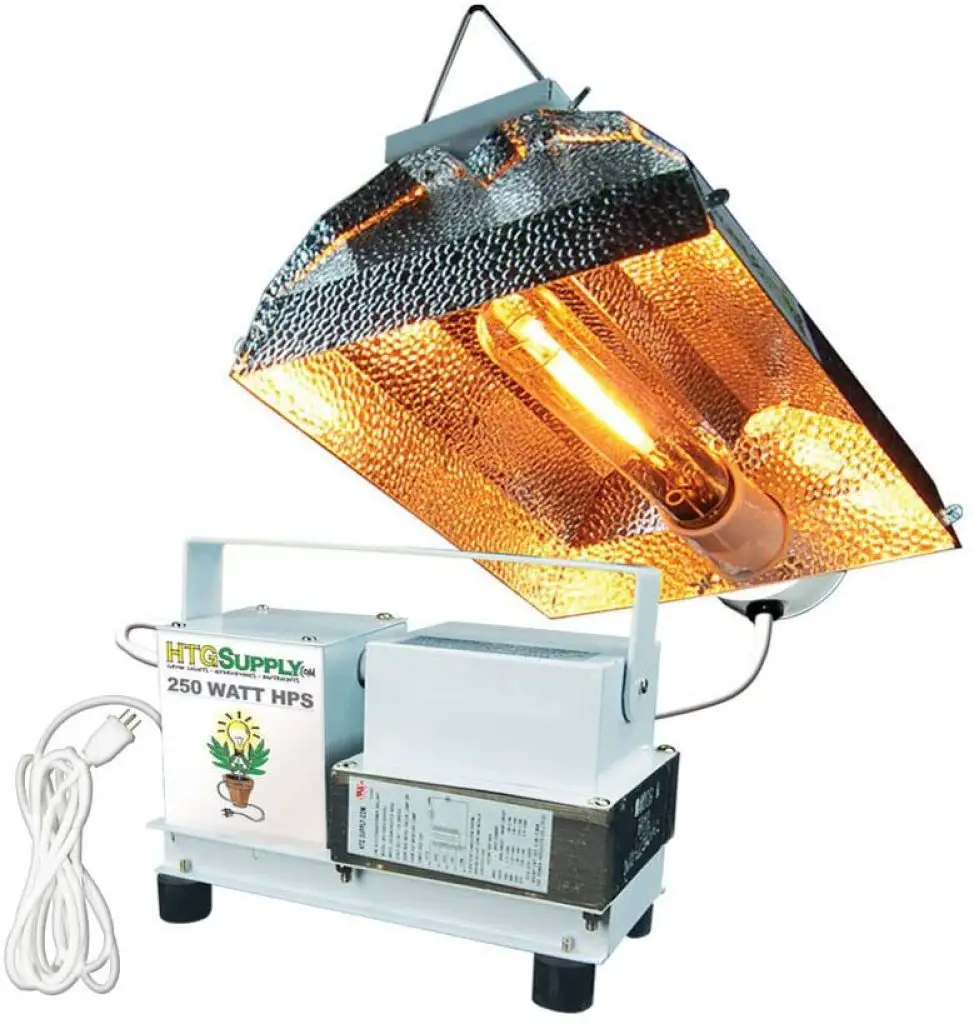
- 250W bulb, 250W ballast, and a reflector
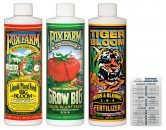
- Nutritional additives- General hydroponics flora trio, CaliMagic
- 1-gallon jug for watering
- Trays for catching runoff water
- Humidity monitor
- Thermometer
- Electrical timer and power strip
- Dropper or pipette to test the pH
- Rope ratchets for hanging light
- General Hydroponics pH kit
- Measuring spoons
Step by Step Process
Going through only 7 steps is enough for having a clear idea for you of what to do.
Step 1: Set Up the Grow Tent
First of all, get the grow light inside your grow tent. The next thing you should do is to install an exhaust fan at the tent’s top position, it will blow the air out. Make an intake hole so that the new air can get in.
Keep the intake hole at the tent’s bottom as well as on the opposite of your exhaust fan, and the hole should be bigger than the exhaust fan. The intention is, to let the coolest air pull in, meanwhile, let the hottest air exhaust.
Step 2: Install a Window Fan
Installing a window fan to blow out air in the same room where the tent is being kept. This idea will work the best if there’s an intake hole the same as your grow space. To make it possible, you can open another window inside the room. Or perhaps, you can simply open a door or window outside the room anywhere in your house for a reason that the fan can be in touch with new air.
This will let the fan blow out all the air and replace it with new, fresh air.
Step 3: Set Up the Coco Coir
Before starting your seeds, fill the containers with coco coir, fill it about 85%. Then, thoroughly water the coco coir in the containers. The coco will take a bit longer to completely wet if it’s dry. Now, put the containers on the trays.
Step 4: Apply Nutrient Water to The Coco Coir
Get the 1-gallon container and fill it with water. Now, you need to add nutrients to the water for the strength of seedlings. Use a pH test kit and check how’s the pH of your water.
If you find the pH under 5.5 or above 6.5, there are a few tasks you need to do. Just make sure that the pH range is anywhere between 5.5-6.5 by adding a little amount of pH down or pH up.
Once done, pour the nutrient water over the entire coco gently. Continue watering until there’s 30% runoff at the bottom, this is to ensure that you’ve watered the entire coco coir properly.
If you can make sure that your coco is evenly damp, this will charge your seeds when you germinate them. And, using the extra nutrients, the new seedlings will blast off in growth.
Step 5: Preparation for Germination
Before you germinate the seeds, some preparatory tasks should be checked. First thing first, set up an electrical timer that will be on for 18 hours and off for 6 hours a day. Make sure the fans are on throughout the day, 24/7.
And, make sure there’s at least 3 feet distance between the 250W HPS light and the tops of your containers.
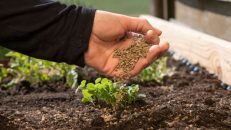
Step 6: Germinate the Seeds
Here’s the most thrilling moment in your grow, because it’s time to get the seeds and the rapid rooters. Get the cube or plug and check there’s a pre cut hole so that you can place the seed into that hole.
So, hence, all you need to do is to push your seeds into the hole of Rapid Rooter. And, your seeds should go a minimum of ½” down. Now, everything’s ready to go. Put the Rapid Rooters on to the coco coir.
Step 7: Turn the Grow Light On
As we said before, the lights should be several feet above your top of the containers. This is because if the lights are too close, they may dry out the Rapid Rooters. And, once the seedlings appear, you will reposition the lights, place them closer.
Lights should be on for 18 hours, remember? And, off for 6 hours a day. You can choose any time that you think most suitable for you to check on your plants.
Keep the fans on for 24/7 and make sure that your plants get the fresh air supply. But be careful, do not point the fans exactly at the seedlings, it can dry out the Rapid Rooters faster.
Then, you need to look after the rapid rooters at least twice a day and make sure that they get enough moisture but not soak. Within only a few days, you’ll see your new sprouts.
Additional Tips for Seedling Care
It’s exciting enough to see the very first leaves. But the first appeared 2 leaves you’ll see be round and they called cotyledon leaves. Over time, the real leaves will be appearing that have sharp edges.
When you see the first leaves, you need to move the grow lights down. Keep those lights two feet above the plants. Check thoroughly if there’s any sign of dropping or discoloring the leaves. Be sure that the Rapid Rooters don’t ever dry.
It’s essential to be very careful during the first few weeks of your plant’s life. Check on the plants every day. Over time, it’s okay to check them often but when it’s the first few days, you need to become extra careful.
When you find the Rapid Rooters even a bit dry, you need to water the plants. But there are a few things you should know before you water your plants for the first time.
- Pour water into the 1-gallon container until it’s filled.
- For the strength of your seedling, add nutrients to the water.
- Use the pH test kit to check the pH range.
- If you find the pH above 6.5 or under 5.5, then yes, it will need an adjustment. Make sure the pH range is anywhere between 5.5 to 6.5 by adding pH UP or pH DOWN.
- Now, slowly water the plant, pour the water in only a small circle around the plant. We are emphasizing the word ‘slowly’ because it will help the coco to absorb the water better. You need to moisten the Rapid Rooter properly as well as wet the coco coir. The main intention is to make sure that the seedling roots get plenty of water supply. But hey, keep in mind that you should never give too much water to the plants because seedlings can’t take much water before getting a bit bigger. Moreover, overwatering can stunt your plants’ growth. Since you are sharing the 1-gallon of water among 4 plants, it will not be overwatering, don’t fret.
FAQs:
What is a DIY grow box?
A DIY grow box is nothing but a growing space that is self-contained and it lets you plant productive, healthy plants throughout the year.
How many marijuana plants can you put in a grow box?
Well it depends on many things like what size of grow tent you’re using and what size of containers you’re using. For example, if it’s a 2×2 grow tent, you can put a single plan in a 3 or 5-gallon pot.
Can you grow plants in a recycled tower?
Yes, of course. It’s even a cost-effective way to grow plants.
How do you build a seedling grow box?
It’s an easy DIY project. You need to roll toilet paper and then cut the roll in half. And, it’ll need 4 cuts in the roll. Then, fold the bottom of it like you’re closing a box. That’s it! Now, fill the box with light potting soil and pack down it using your thumbs. You can put your seed in it now.
Conclusion
Growing cannabis and getting 4oz or more yields is not that hard. You need to be focused from the very first days.
However, the way we’ve provided you every relevant information and broken them into chunks, hopefully, now you know how to make a DIY 4 oz minimum yield grow box.
So, go for it, good luck!
Related Tips for Growing:
- Tiny Black Bugs In Plant Soil
- Black Spots on Succulents- 7 Causes With Cures
- Mint Leaves Turning Brown: Reasons With Remedies
- Problems with Blue Lake Pole Beans
- Strawberry Plants Leaves Are Turning Brown
- How Much Water Per Gallon Of Soil
- How to Use Azamax? – The Complete Guide
- Plant Leaves Turning Brown and Curling up
- Can Moldy Buds Be Saved