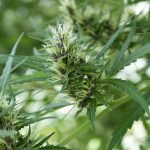
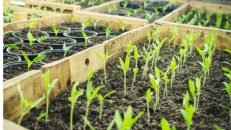
How Long Does It Take To Dry Weed?

Most of the growers believe that slow-drying maximizes the quality of their weed. As drying is the very first step in curing (weeds that cured properly come with a better taste and a more potent). So, you must know what to do and what not to do when you dry your weed.
Moreover, knowing the answer to ‘How long does it take to dry weed’ is another can’t-miss point when it comes to drying weeds. Because this duration largely affects the quality of the final product.
In this article, we tried to cover every relevant information regarding drying weeds. So, let’s get to know all of it in detail.
How long does it take to dry weed?
If you are hoping for a one-word answer, then it’s between 3-7 days. However, there are several ways of drying weed, and what method you are using affects the duration it will take to dry.
Also, there are some factors that influence the time of drying your weed such as humidity, ambient temperature, how many leaves are remaining on the plants, and how densely you’re packing the plants during drying.
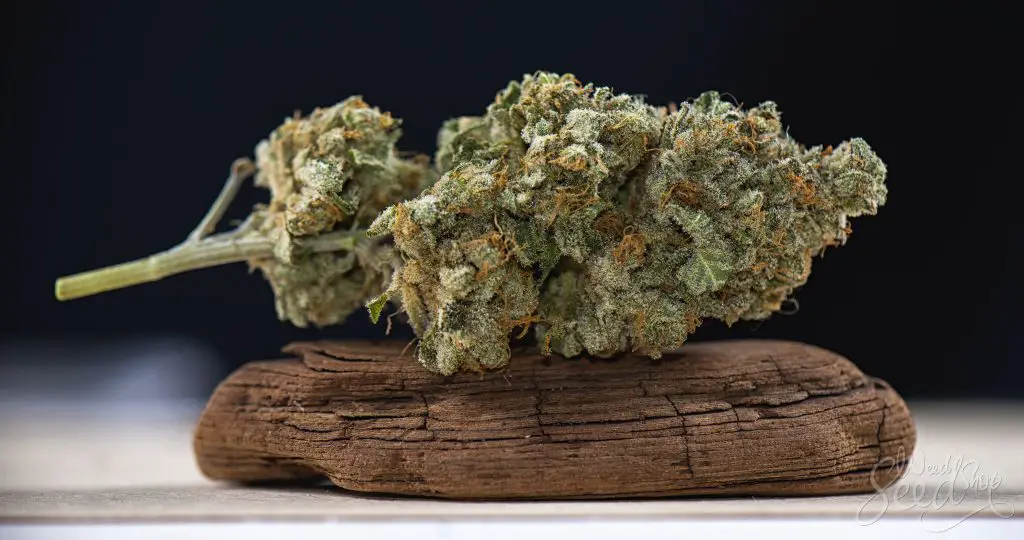
And, how will you find that your marijuana buds are ready? Well, when the stems break or cause to break and you find the buds are dry to the touch. For every ideal drying process, this natural dehydration method takes somewhat between 3 to 7 days.
You can dry your weeds in several ways. However, it is better to follow the ‘slow-drying’ process as quick-drying can reduce the potency of your drug. You should never dry marijuana at a hot temperature (above 65℃) because it may damage the THC.
To achieve the perfect drying time, here are a few factors you can modify.
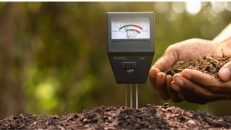
- Temperature: Temperature should be around 21℃. And, be very careful as the temperature is not above 30℃ because it may affect the quality and taste of your weeds.
- Humidity: 50% humidity is ideal to dry your weeds. And, humidity under 30% or above 60% is not a good situation. In this case, you should use a humidifier or a dehumidifier (we’ll talk about it later, in detail).
- Space: In a humid area, there should be a lot of space among the weeds. But in dry areas, you should place them close enough while drying, otherwise, they may dry out very quickly.
- Leaves: Try to trim away the big leaves. If it’s a dry area, you should cut less. But if it’s a humid area, you’ll want to remove more leaves.
Drying and Curing Cannabis- Basic Knowhow
When your buds are ready to harvest, you will find a lot of work to do as a grower. After harvesting them, you have to let the newly-harvested buds go through the curing process.
‘But why to cure them?’ you may ask. Well, drying and curing will reduce harshness, causes your buds to smell better, and will let you feel more potent.
In simpler words, curing is a process where you will use a controlled environment to dry the buds slowly. After that, you need to keep them in glass jars for some days or a couple of weeks. Then, the natural plant processes will take place.
Why to Dry Your Weeds?
The drying and curing process can bring a huge change in the final product. If we say fair and square, both the drying and curing process will let you get trophy-worthy buds while the rest will be ‘just okay’ type buds.
Some more reasons to dry and cure your weeds are:
- Improves the smoothness and the taste of buds by breaking down chlorophyll.
- Removes the ‘cut grass’ or ‘fresh hey’ type smell that is newly-harvested buds come with.
- Reduces the harshness from your buds that you will less likely tend to cough or suffer a headache.
- Reduces the risks of growing bacteria or mold on the buds.
- Buds will less likely lead you to have paranoia, racing thoughts, or anxiety.
How to Dry Your Marijuana Properly
The key to get successful yields is drying and curing your marijuana properly. Here we are going to walk you through the simplest steps to dry your marijuana properly.
Step 1: Cut Down the Plant
There are various ways to cut down your plant. You can cut off the branches and then hang the branches to dry. Or, cut your plants at the base, then, hang the entire plant upside down for drying.
Another way to follow is, you can simply cut off individual buds, lay the buds out, as well as dry them on a rack or mesh screen. You can go for any of the ways.
Step 2: Trim the Extra Leaves of Your Weed
You should trim away the extra fan leaves before you dry the weeds. It will let you have a smoother experience and improve your buds’ appearance. Also, there are chances of being your buds too harsh if there are too many leaves.
How many leaves you should trim off depends on your personal preference. For making things a bit easier- if you are in a dry area, you want to leave more. And, if your area is humid, you should cut off more. Following these will fasten the drying process as well as prevent mold.
Another point worth mentioning here, you must wear disposable gloves during trimming your buds. It will keep your hands safe from sticky resin.
Step 3: Start the ‘Slow Drying’ Part
Now, you’re about to start the most crucial part of the curing process- slow-drying your cannabis. As we said before, the optimal room temperature should be around 70℉ and the humidity should be 50%.
If you find anything imbalance, there are ways to adjust your environment. Here’s how:
- Humidifier- To heat air and lower humidity
- Air conditioner- To cools air and lower humidity
- Heater- To heat air and lower humidity
- Evaporative cooler- To cool air and raise humidity
- Dehumidifier- To heat air and lower humidity
If you ask ‘where the problem is if I quick-dry my buds?’, simply, you will skip the most important part because the quick-dried buds smell worse as well as leave you with a paranoia or migraine.
However, there are different ways to dry your weeds. The STANDARD way to dry your weeds is, hang them upside down. You can use string, cloth hangers, or anything like that to hang the weeds upside down.

Or, you can follow another way- use a drying rack to place the freshly-harvested buds and dry them. This way will take less time to dry your weeds than the other ways. Because in this method, you need to remove the stems (that contain a tad of water) from your buds.
You can even lay the buds on a cupboard and dry them or even take the buds in a paper bag to dry. In case, you lay your buds on a cupboard, there’s a chance of creating wet spots as well as leave an imprint on your buds’ sides. What it means is, if you live in a humid area, the ‘cupboard’ trick will help you because it pulls the water out of the buds fast.
If you are someone from a very humid environment, your buds may start seeming soggy/wet. In this case, you should use a small fan that will create an extra airflow and it will prevent the buds from causing mold or getting too wet.
But, remember, you should never point an airflow directly at the buds, point the fan at a nearby wall instead. However, you should not go for a fan if you don’t find it really necessary, otherwise, it may overdry your buds.
Step 4: Continue Drying…
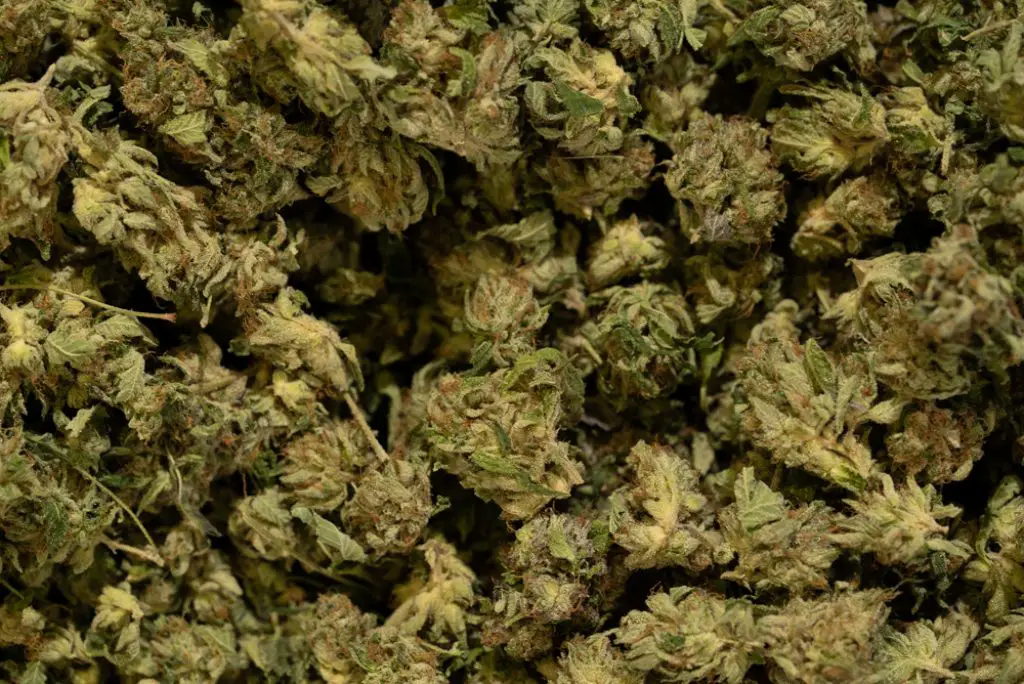
You need to keep drying the weeds until you touch the outsides of the buds and feel them dry. The smaller stems should snap (not bend). It usually takes between 3 to 7 days.
In case you see the buds are dry sooner, maybe sooner than 3 or 4 days, it means you may have dried them a bit too fast. If things are like this, it’s okay! That was a learning experience. If you dry your buds too quickly, there’s no problem but it can take a bit longer to fully cure.
On the other hand, if you dry the buds for too long and get rid of all moisture from your buds, the curing process will slow down. However, overdried buds are also okay to cure, just will take a longer time.
Pull down your buds at the right time, it’s important. Why? Well, you need to do so because then you can pull out the moisture from the buds that will continue the curing process.
Hopefully, there will be no mold grown as long as your buds’ outsides feel dry to the touch. Generally, molds tend to grow if the outsides of your molds seem damp or moist to the touch.
Step 5: Place the Buds in Jars
Now, it’s time to store the buds in a controlled environment. Make sure the relative humidity is at 60-65% the time when you place your buds in an enclosed container.
Did you take the buds down and see that the smallest stems snap whereas the larger buds bend? If it’s yes, then get to know that the buds are going to create perfect humidity in the jars.
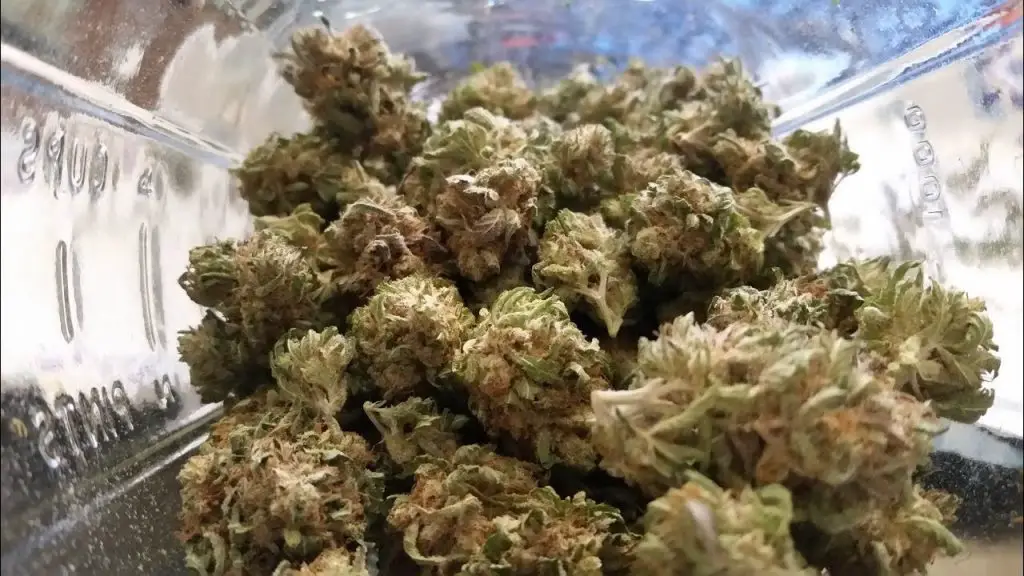
And, when it comes to the storage containers, do you know how to jar your buds properly? It’s okay if you don’t know about it, choose wide-mouthed glass mason jars because they are just perfect for marijuana buds.
Pick mason jars that are labeled ‘Quart jars’ meaning they can hold 1 quart. A single jar can hold around an ounce of dried buds.
Fill every jar 75% with buds and let a bit of air remain at the top. Your buds should move around if you shake the jars. But if you find them stick together, well, they are still wet. In this case, you can simply remove the lids for a while, it will let the moisture dry out.
Conclusion
Have you got a detailed answer to ‘how long does it take to dry weed?’? Hopefully, it’s a yes.
From growing to store weeds, drying is one of the most crucial points. So, you can never do the job without gathering a wide knowledge of it. Drying and curing the weeds properly means you will get a mold-free, way better final product.
So, wish you good luck, we hope that you can dry it properly!
FAQs
What is the best way to trim my weed?
Try to trim when your buds are still wet because it’s the easier way. Also, you won’t have to worry about losing from agitation that you may have to do while handling dry buds.
How do I understand that my buds are perfectly dried to cure?
You can go through a simple test. Take a brunch and try it if it bends. If you find the buds snap, they are properly dried as well as ready to go for the curing process.
Once my buds are dried, how long will they take to cure?
Most of the growers cure their weeds for approximately a month. However, you can get the most aroma and flavor out of your buds if you cure for 4-8 weeks.
When should I re-hydrate the overdried buds?
Don’t panic if you think that you’ve overdried the buds. Sometimes, there’s a little moisture inside the buds, yet they feel too dry. You can leave your buds in jars for around 2-3 days as you can see whether moisture is coming to the surface from inside. Wait for a few days and see if your buds still feel dry, only then you should rehydrate buds.
Related Tips for Growing:
- Tiny Black Bugs In Plant Soil
- Black Spots on Succulents- 7 Causes With Cures
- Mint Leaves Turning Brown: Reasons With Remedies
- Problems with Blue Lake Pole Beans
- Strawberry Plants Leaves Are Turning Brown
- How Much Water Per Gallon Of Soil
- How to Use AzaMax? – The Complete Guide
- Plant Leaves Turning Brown and Curling up
- Can Moldy Buds Be Saved
- Timber Grow Lights